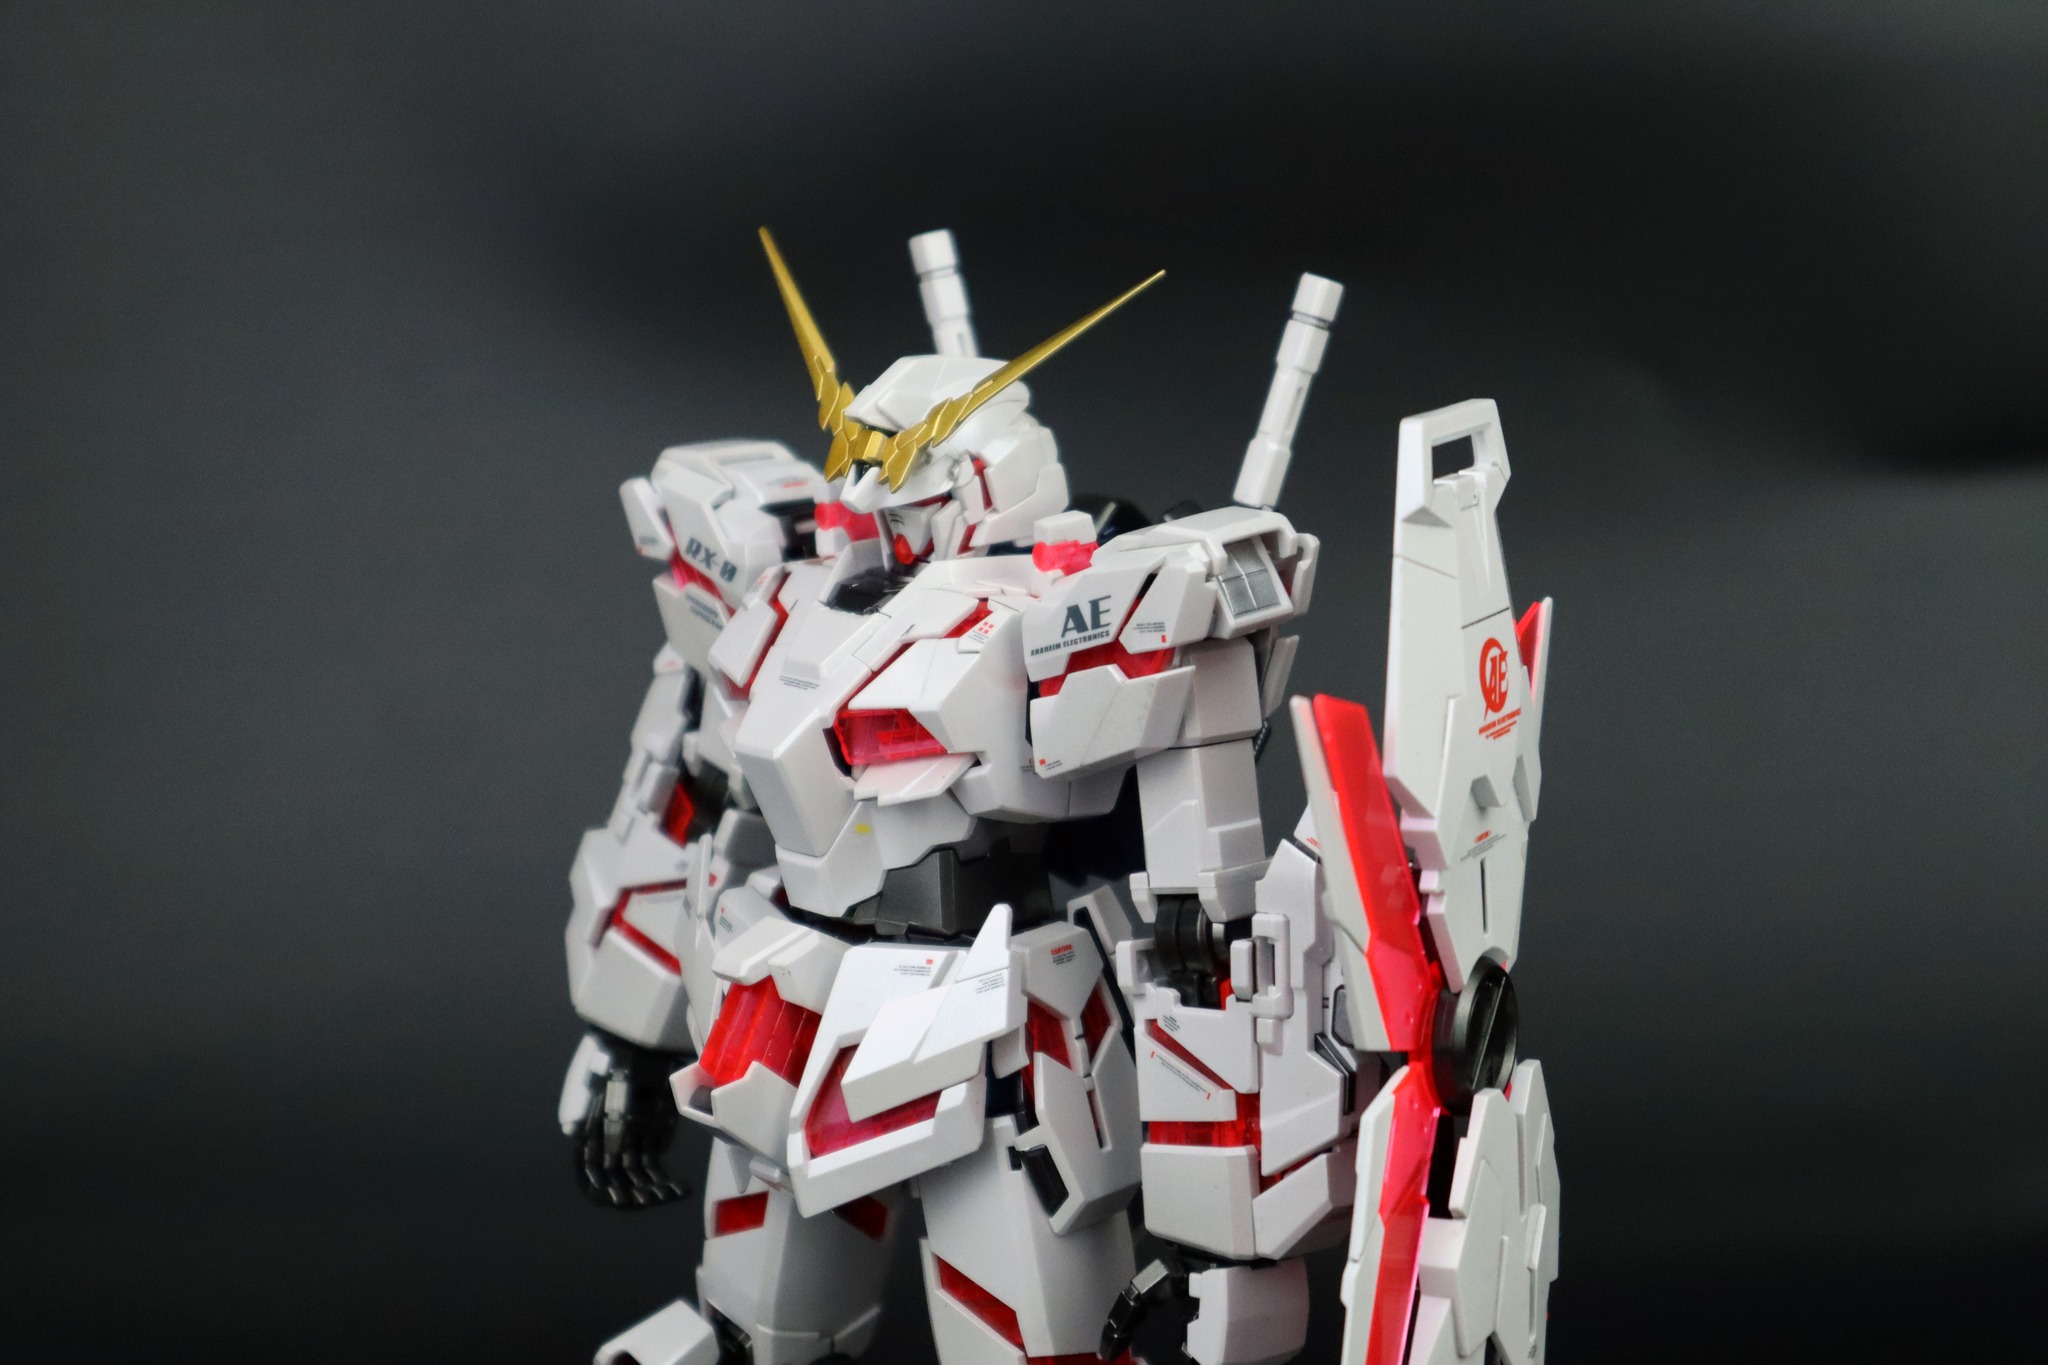
How to Build Your First Real Grade (RG) Gunpla Kit

Introduction
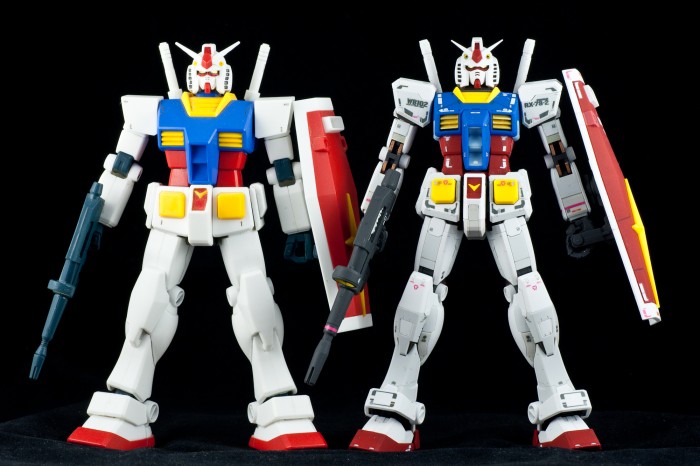
Stepping up from High Grade to Real Grade is an exciting milestone in your Gunpla journey. RG kits offer more detail and complexity at the 1/144 scale. Here's how to tackle your first RG build successfully.
Understanding Real Grade Complexity
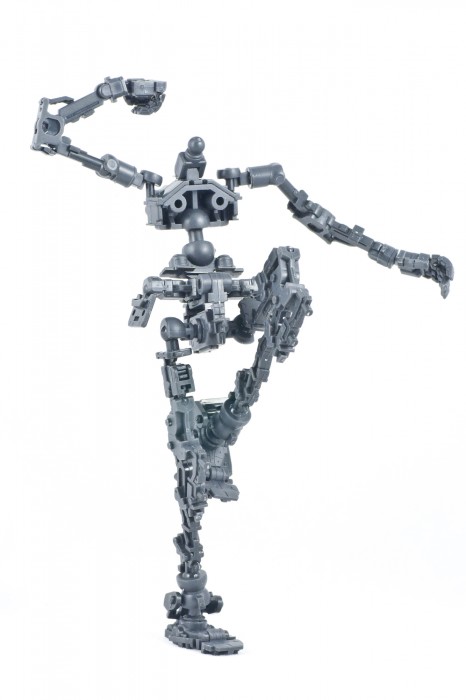
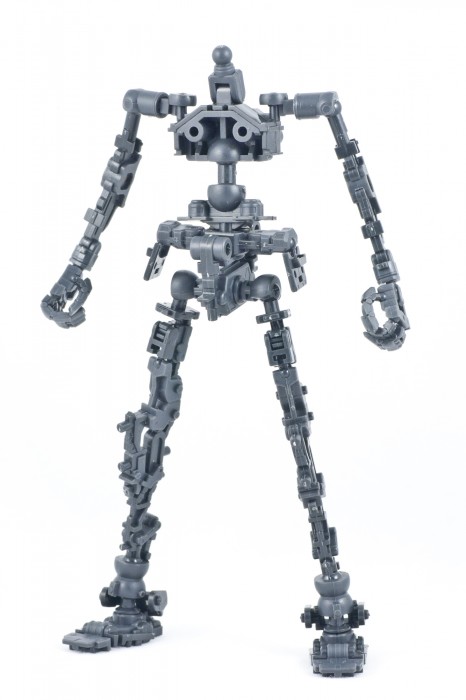
- Advanced Engineering: Inner frame system similar to MG kits.
- Smaller Parts: Requires more precision.
- Detailed Instructions: More steps and sub-assemblies.

Essential Tools
In addition to basic tools:
- Precision Nippers: For cleaner cuts.
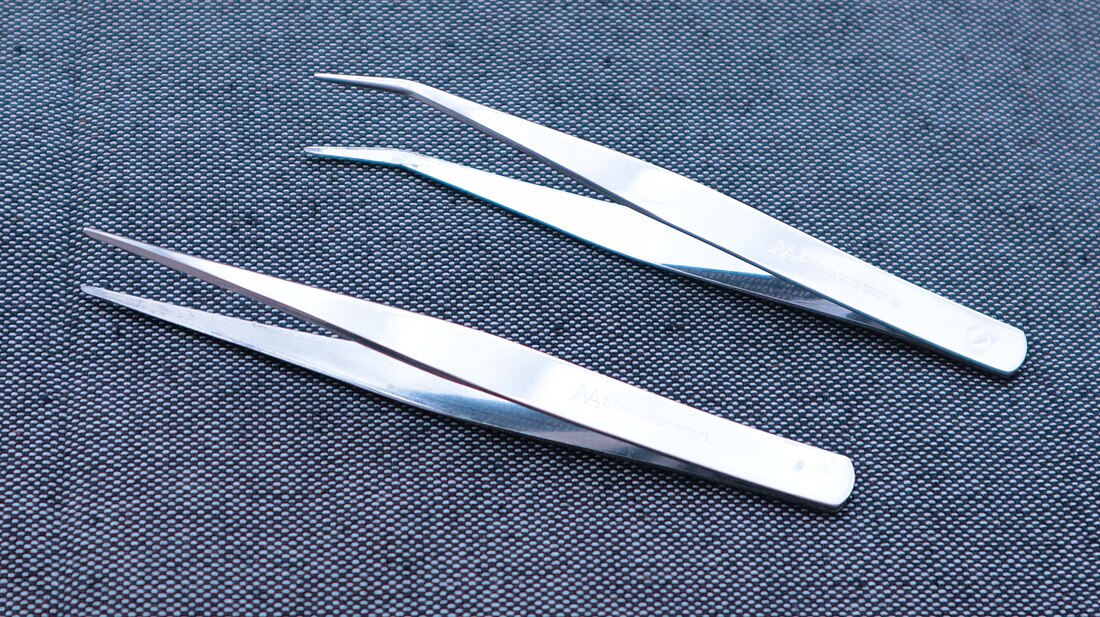
- Fine Tweezers: Handling tiny parts.
- Magnifying Glass (Optional): For detailed work.
Building Tips
- Organize Your Workspace: Keep parts for each section separated.
- Follow Instructions Carefully: RG manuals are detailed; pay attention to the order.
- Handle with Care: Parts are delicate; avoid applying excessive force.
- Use Minimal Nub Marks: Clean cuts reduce the need for excessive trimming.
Common Challenges and Solutions
- Small Parts Breaking: If a part breaks, use plastic cement to repair.
- Stiff Joints: Move joints gently to prevent stress.
- Decal Application: Use tweezers and take your time.
Final Touches
- Panel Lining: Enhances the detailed surfaces.
- Top Coat (Optional): Seals decals and gives a uniform finish.
Conclusion
Building an RG kit is a rewarding challenge that results in a highly detailed model. With patience and attention to detail, your first RG build will be a success.

